
How to Make Iron Farm in Minecraft Bedrock
Iron is one of those really typical-feeling resources in Minecraft Bedrock Edition when you first start a survival world. You go caving, you grab some stacks, you make your tools, and you move on. You don’t think much of it. Iron is never a problem then. But as your world grows, all is sluggish to alter. You begin to construct automatic farms, huge storage systems, villager trading halls, rail networks, and other Redstone devices.
Now it’s something you depend on all the time for just about any project. Iron mining begins to look slow and repetitive. You travel into caverns over and over again, kill creatures, grab little bits of iron, and then go back to smelt it. Even spending a lot of time, it never feels like it is enough, as your constructs eat iron much faster than you can obtain it Survival players here naturally come to a crossroads.
The solution to that turning point is an iron farm. It’s a built-in mechanism that constantly makes iron in the background as you’re busy constructing, exploring, and upgrading your planet. Once it starts working effectively, it absolutely negates the requirement of ongoing mining.
Why Iron Farms Matter in Survival
Iron farms are one of the most useful survival builds in Minecraft because iron is used in almost every stage of the game. From basic tools in early survival to advanced automation systems in late game, iron is always required. You need iron for hoppers, rails, minecarts, buckets, anvils, armor, shields, and many Redstone components. Even a simple storage system can consume a large amount of iron because hoppers are used in almost every design.
As your world expands, iron demand increases much faster than expected. What once felt like a large amount of iron suddenly disappears after just a few builds. Mining cannot keep up with this demand because it depends on time, luck, and exploration. Sometimes you find rich caves full of iron, and sometimes you find almost nothing. This inconsistency makes mining unreliable for long-term survival progress. An iron farm removes this problem completely by giving you a steady and unlimited source of iron without any manual effort.
How Iron Farms Work in Minecraft Bedrock
Iron farms in Minecraft Bedrock work based on village mechanics. When villagers are linked to beds and workstations, the game considers that area an active village. In a normal village, iron golems spawn naturally to protect villagers. An iron farm uses this system and controls exactly where those golems appear instead of letting them spawn randomly. The idea is simple but powerful. Instead of increasing spawning, we control it.
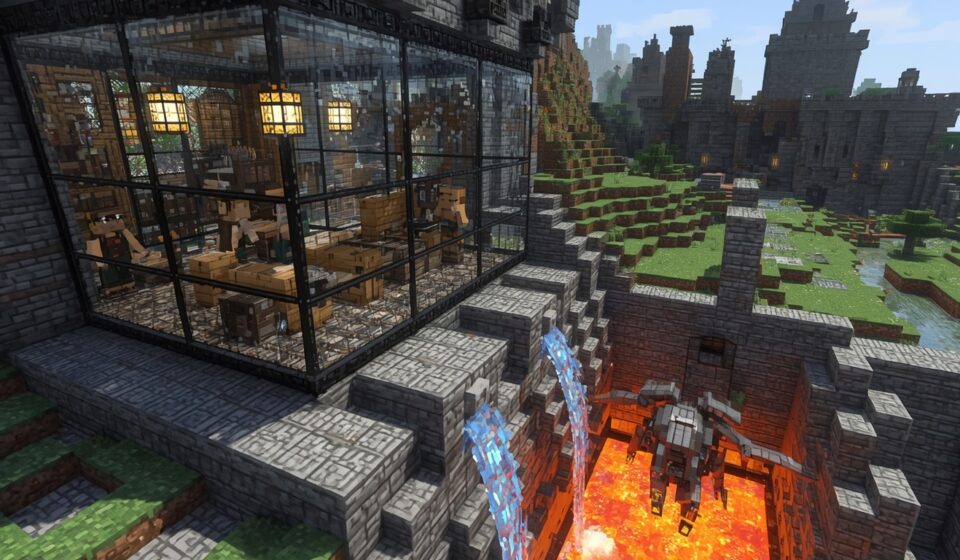
A designed platform forces iron golems to spawn in a specific area. Once they appear, water currents slowly push them toward a central drop point. From there, they fall into a kill chamber where they are automatically eliminated. Their drops—iron ingots and poppies—are collected using hoppers and stored safely in chests. The system continues running automatically as long as villagers remain properly linked and the area stays loaded.
Materials Required
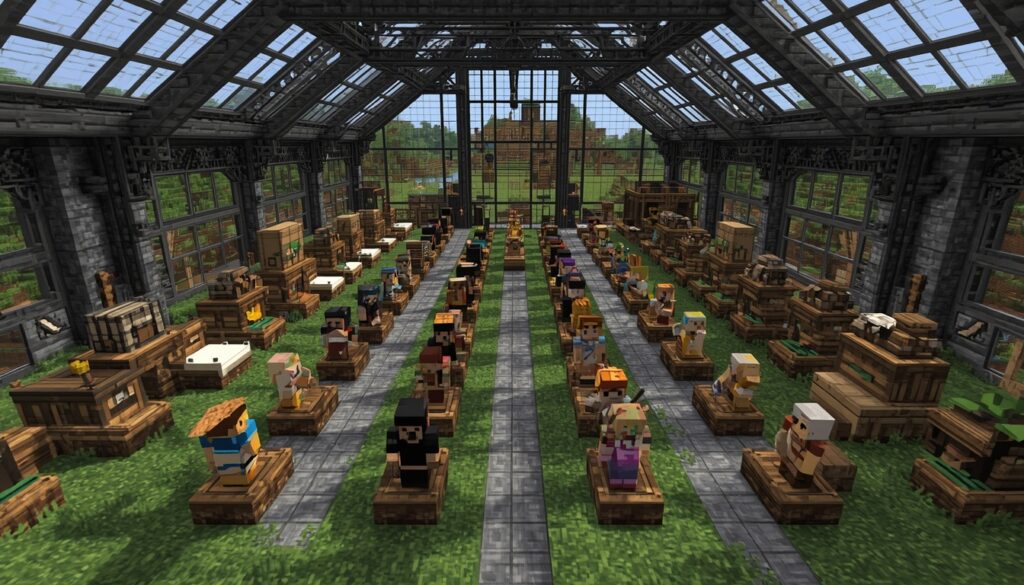
Before starting the build, it is important to collect all materials so the process stays smooth and uninterrupted. The most important part of the farm is villagers, so you will need around 20 villagers. These villagers create the village system required for iron golem spawning. You will also need 20 beds so each villager has a sleeping space and stays properly connected to the village. Along with that, 20 workstations are required, and fletching tables are commonly used because they are simple and reliable.
For the collection system, you will need water buckets, a lava bucket, hoppers, and chests. Water is used to move iron golems toward the center, while lava is used to kill them efficiently. Finally, solid building blocks like stone or cobblestone are required for structure building. Slabs or leaves are used for spawn-proofing to prevent unwanted mobs from interfering.
Choosing the Best Location
Location plays a very important role in whether your iron farm works properly or fails completely. If you build too close to a village, a villager breeder, or a trading hall, the game may merge villages together. This can break iron golem spawning or reduce efficiency. To avoid this, always build your iron farm at least 100 blocks away from any village or villager setup. This keeps the system isolated and stable.
Many players prefer building iron farms in the sky because it removes terrain interference and makes spawning control much easier. However, flat open ground also works if it is properly cleared.
Step 1: Building the Main Platform
Start by creating a 20×20 flat platform using solid blocks. This will act as the spawning area for iron golems. The platform must be completely flat because even small height differences can disturb water flow and spawning behavior. Only solid blocks like stone, cobblestone, or deepslate should be used. Glass and slabs should be avoided because iron golems cannot spawn on them. This platform is the foundation of the entire farm, so it must be stable and correctly built.
Step 2: Placing the Beds
Next, place 20 beds in the center of the platform. These beds define the village structure and activate iron golem spawning. The layout should be simple so villagers can easily reach and claim their beds. There is no need for complicated designs. Once placed, avoid moving beds again because it can reset village data and temporarily break the farm.
Step 3: Adding Workstations
After placing beds, add 20 workstations so each villager can take a job. This helps stabilize the village system. Fletching tables are commonly used because they are cheap and easy to craft, but other workstations like composters, lecterns, or smithing tables also work. Villagers will automatically link to nearby workstations, and green particles will appear when linking is successful. If villagers keep switching, wait for a full in-game day to stabilize.
Step 4: Transporting Villagers
Transporting villagers is usually the most time-consuming part of the build. Boats work well for short distances, while minecarts are better for long travel routes. Each villager should be moved carefully and placed one by one. After placing them, give them enough time to properly link with beds and workstations. Rushing this step is one of the most common reasons iron farms fail.
Step 5: Creating the Water Flow System
Once villagers are set up, the next step is creating a water system that guides iron golems toward the center. Water is placed around the edges of the platform so all golems naturally move toward the drop area. This ensures smooth movement and proper collection. Carefully test the flow and fix any stuck areas before moving forward. A smooth water system is essential for consistent farm performance.
Step 6: Building the Collection System
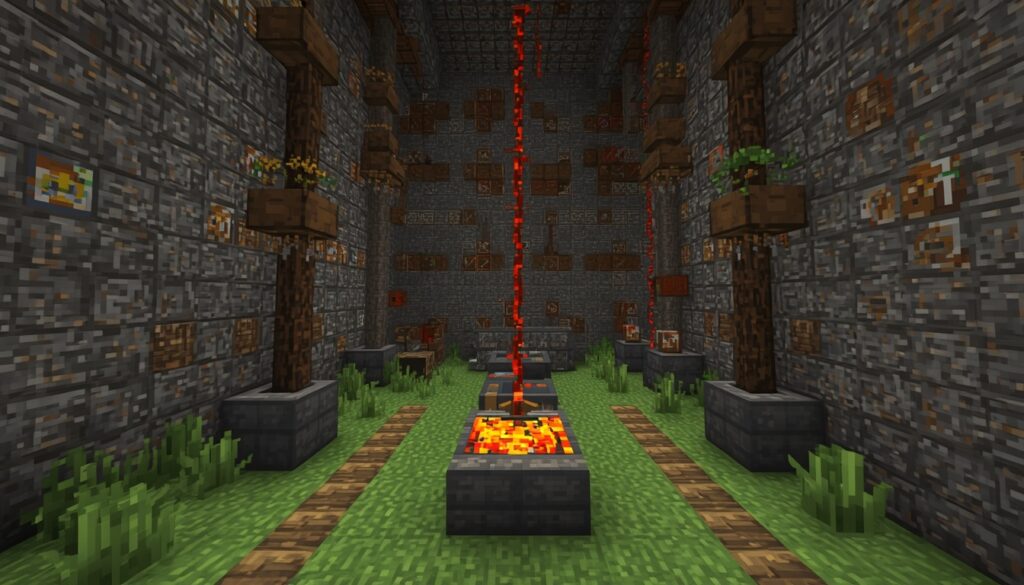
Below the center of the platform, create a vertical drop shaft where iron golems will fall. At the bottom, place hoppers connected to chests so all drops are collected automatically. Above the hoppers, place lava carefully to kill iron golems without destroying items. Once everything is set up correctly, the farm becomes fully automatic and requires no further interaction.
Final Thoughts
One of the best survival buildings you can develop in Minecraft Bedrock is an iron farm. Once it is correctly set up, there is no need for any manual iron mining at all. Here are three factors that will make your farm successful: the right villagers, the right placement, and a stable design. If done right, it gives you a steady, endless supply of iron.
Then it becomes a lot easier and more fun to survive. Now you can focus all your energy on constructing, exploring, and growing your environment without having to worry about iron anymore.
Faqs
What is the easiest way to make an iron farm in Minecraft Bedrock?
The simple setup is 20 villagers, beds, and workstations inside a closed area. Then you create a spawning platform where iron golems appear and use water to push them into a kill chamber. That’s it.
Why is my iron farm not working?
Most of the time it’s a villager issue. Either beds are not linked properly, workstations are missing, or there is another nearby village messing up the system. I’ve had this happen more than once.
Do I really need 20 villagers?
Yes, in Bedrock Edition, 20 villagers is the safe number. If you go lower, the farm can become slow or even stop working sometimes.
How far should I build an iron farm from a village?
From experience, keep at least 100 blocks’ distance. I once built it too close, and the game mixed both villages, and the farm just stopped working properly.
Does an iron farm work when I’m AFK?
Yes, but only if the area is loaded. If you move too far away, the farm stops producing. I usually build mine near my base so it keeps running while I play normally